How to Make High-Rise 3D Models for Architecture
- Feb 19
- 8 min read

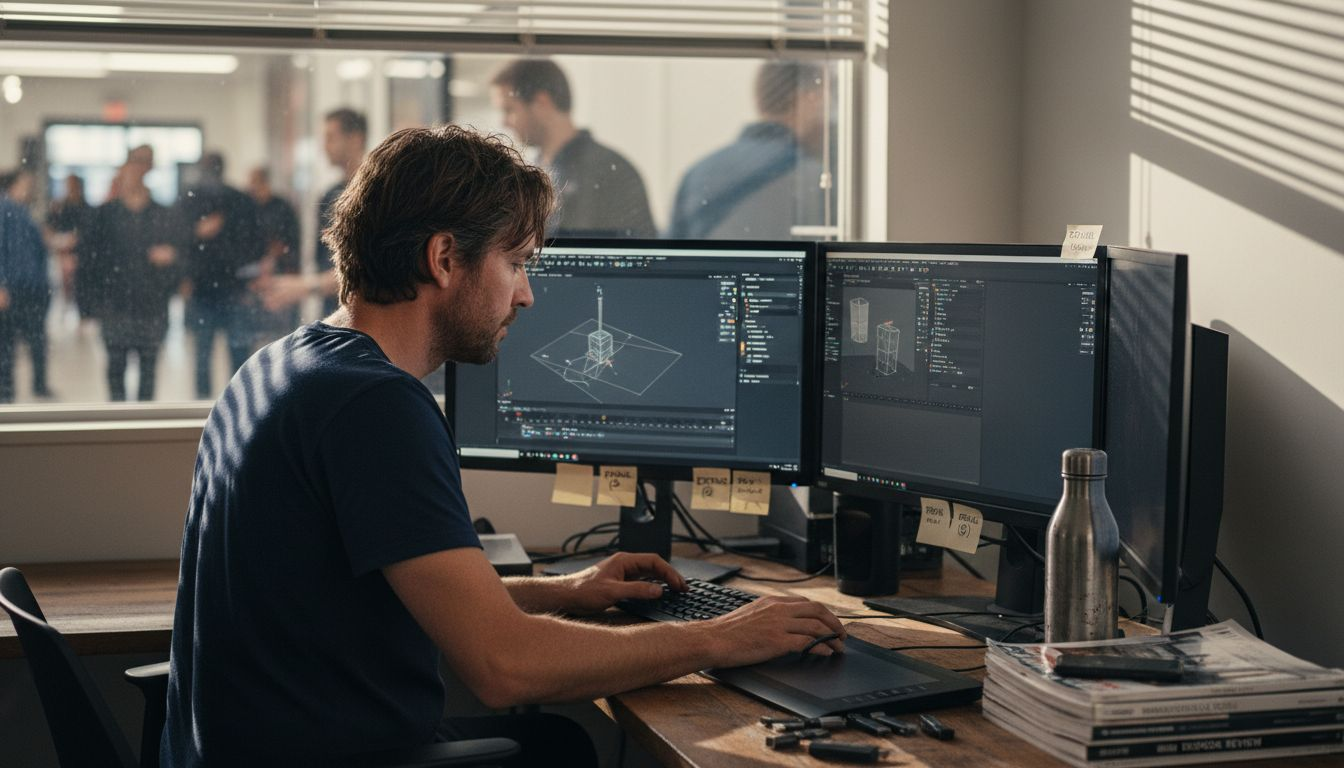
Tackling a high-rise project in the GCC means every design decision is under scrutiny, from structural efficiency to visual impact. Robust 3D models are now essential for architects and urban planners who need to showcase complex buildings with precision. This guide steers you through comprehensive design data collection and software setup, helping you craft professional models that capture both engineering requirements and architectural vision.
Table of Contents
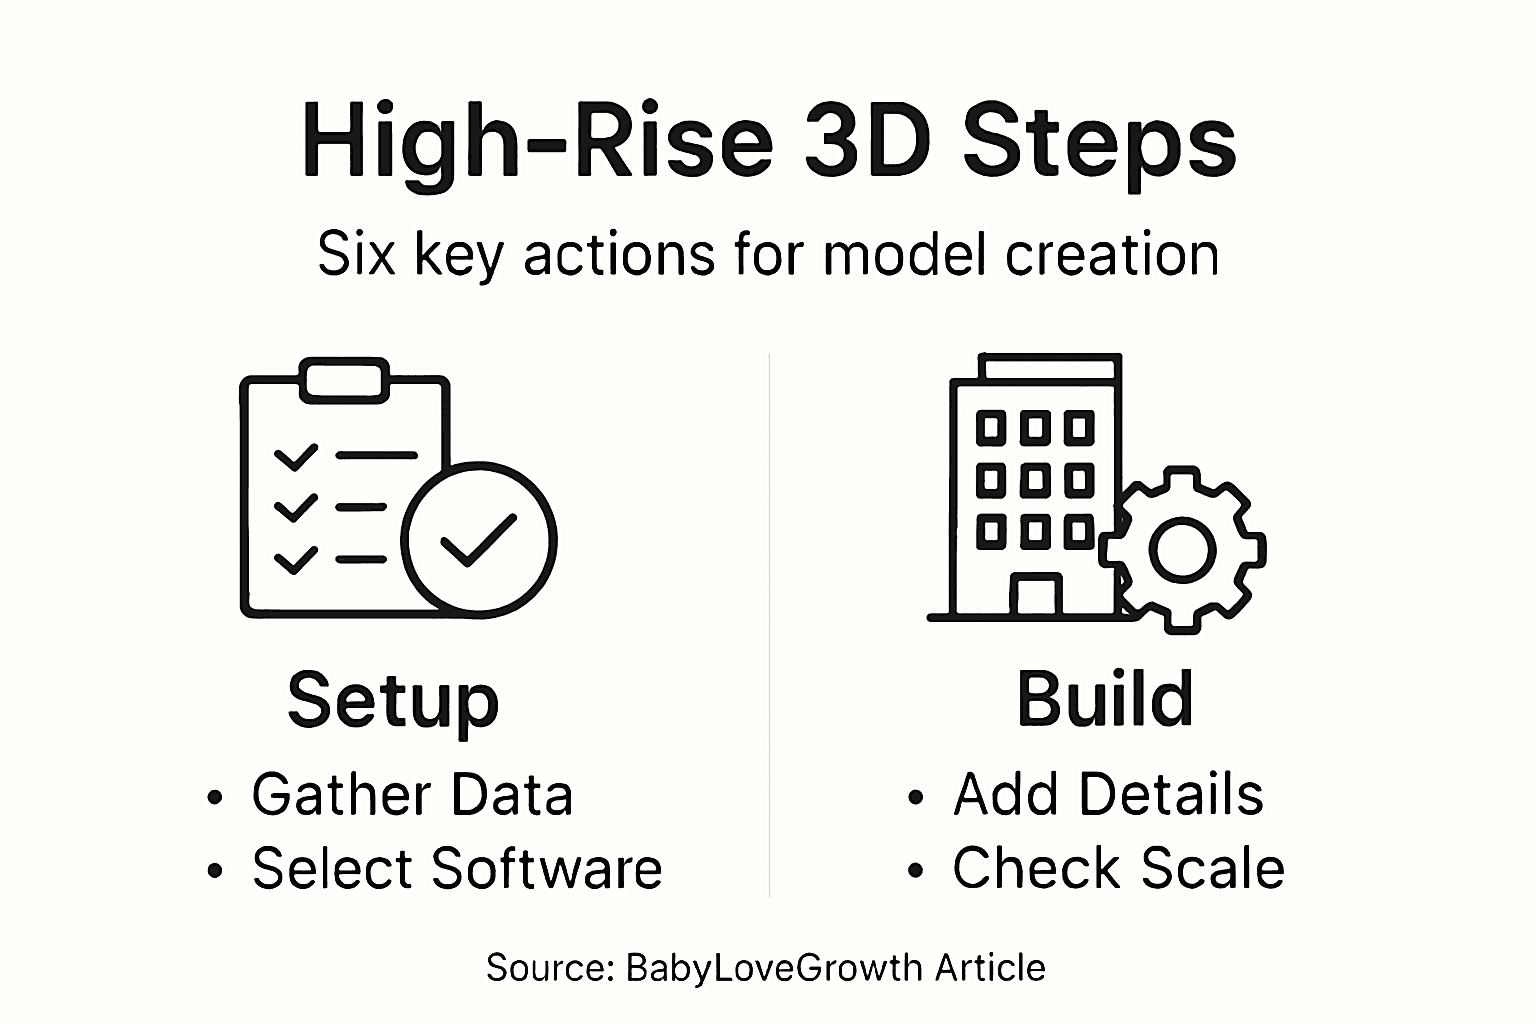
Quick Summary
Key Idea | Explanation |
1. Gather essential data first | Collect technical specifications, materials, and precise measurements to ensure your model’s accuracy and quality. |
2. Choose appropriate modeling software | Select software that aligns with your project needs for effective modeling of complex architecture. |
3. Construct a precise structural framework | Develop a detailed 3D framework, ensuring dimensions and structural integrity reflect real-world specifications. |
4. Add realistic architectural details | Apply high-quality textures and finishes to create an immersive and professional-looking model. |
5. Verify accuracy before finalizing | Cross-check measurements and alignments to ensure precision and effectiveness in your final model presentation. |
Step 1: Gather Essential Design Data and Materials
Successfully creating high-rise 3D architectural models begins with meticulous data collection and strategic material selection. This crucial first step determines the accuracy, detail, and professional quality of your final model.
Architectural model preparation requires comprehensive research and precise material gathering. Start by collecting technical building specifications including structural plans, elevation drawings, material compositions, and precise dimensional measurements. Comprehensive design data collection involves analyzing multiple technical documents to ensure your model represents the building’s exact characteristics.
Your material selection should focus on lightweight, versatile substances that allow intricate detailing and structural representation. Essential modeling materials include:
Balsa wood
Foam core
Architectural modeling cardstock
Clear acrylic sheets
High-density styrofoam
Fine-grain sandpaper
Precision cutting tools
Tools are equally critical for successful model creation. Invest in professional-grade equipment such as precision craft knives, metal rulers, cutting mats, and digital calipers to guarantee accurate measurements and clean cuts. Professional architectural model makers understand that tool precision matters as much as material selection.
Architectural models communicate design intent more effectively than digital renderings, making material and data selection paramount.
Pro tip: Always create preliminary sketches and small-scale test models to validate your material choices before investing time in the final high-rise model.
Step 2: Set up Modeling Software and Workspace
Preparing your digital environment is crucial for creating accurate and professional high-rise 3D architectural models. This step transforms your computer into a powerful design platform ready for intricate modeling work.
Choosing the right software is your first critical decision. Architectural modeling workflows require specialized tools that support complex geometric designs and precision engineering. Popular options include:
Autodesk Revit
SketchUp Pro
Rhino 3D
ArchiCAD
Blender
Each software offers unique capabilities, so select one that matches your specific high-rise modeling requirements. Workspace configuration matters significantly in streamlining your modeling process. Set up your digital workspace by creating standardized templates, organizing asset libraries, and establishing consistent layer management protocols.
Here’s how the top architectural modeling software options compare:
Software | Strengths | Typical Use Case |
Autodesk Revit | BIM integration, precision | Large-scale construction docs |
SketchUp Pro | Quick modeling, simplicity | Concept design, presentations |
Rhino 3D | Complex geometry, plugins | Freeform and parametric work |
ArchiCAD | Workflow efficiency | Building lifecycle modeling |
Blender | Free, superb rendering | Visualization, animation |
Configuring your workspace involves several strategic steps. Create custom layer structures that separate structural elements, interior details, facade components, and mechanical systems. Develop naming conventions that ensure clarity and easy navigation throughout your project. Customize your interface to prioritize frequently used tools and create quick-access toolbars that match your workflow.
Efficient software setup reduces modeling time by up to 40% and minimizes potential errors in complex architectural designs.
Pro tip: Invest time in learning keyboard shortcuts and creating custom workspace presets to dramatically accelerate your 3D modeling efficiency.
Step 3: Construct Structural Framework in 3D
Building a precise 3D structural framework is the backbone of your high-rise architectural model. This critical step transforms abstract design concepts into a realistic, technically accurate representation of your building’s core structural system.
Structural framework modeling requires meticulous attention to engineering principles and software capabilities. Begin by defining the fundamental structural elements of your high-rise:
Vertical load-bearing columns
Horizontal beams and girders
Floor slabs and structural diaphragms
Lateral stability systems
Foundation connections
Precise dimensional input is crucial when creating your framework. Each structural element must be accurately scaled and positioned to reflect real-world engineering specifications. Use your software’s object-based modeling tools to create detailed representations of each component, paying special attention to material properties, cross-sectional dimensions, and load-bearing capacities.
As you construct the framework, focus on load path continuity and structural integrity. This means ensuring that vertical and horizontal loads transfer smoothly through the building’s skeleton. Analyze potential stress points, connection details, and the interactions between different structural systems. Consider factors like wind resistance, seismic loads, and thermal expansion that impact high-rise design.
Accurate 3D structural frameworks are the foundation of reliable architectural visualization and engineering analysis.
Pro tip: Create multiple design iterations and use parametric modeling techniques to quickly explore different structural configurations and optimize your high-rise model’s performance.
Step 4: Add Architectural Details and Textures
Transforming your structural framework into a lifelike architectural model requires carefully applied details and textures that breathe realism into your design. This step elevates your 3D model from a basic geometric representation to a rich, immersive visualization.
Architectural material libraries provide sophisticated resources for creating incredibly realistic surface representations. Focus on implementing high-quality textures across key architectural elements:
Building facade materials
Interior surface finishes
Exterior cladding textures
Glass and reflective surfaces
Landscape and surrounding environment details
Physically based rendering (PBR) techniques allow you to simulate how different materials interact with light, creating unprecedented visual accuracy. Pay close attention to subtle variations in texture, reflectivity, and surface roughness that differentiate professional-grade models from amateur attempts.
Apply textures strategically by considering how each material contributes to the overall architectural narrative. Concrete surfaces should reveal aggregate details, metal panels must show precise metallic reflections, and glass surfaces need nuanced transparency gradients. Your goal is to create a model that communicates not just the building’s form, but its material essence and experiential quality.
Exceptional architectural models transcend visual representation by telling a story through meticulously crafted material details.
Pro tip: Experiment with multiple texture scales and resolutions to find the perfect balance between visual fidelity and computational performance.
Step 5: Verify Model Accuracy and Scale
Ensuring precise dimensional integrity is the critical final checkpoint in your high-rise 3D modeling journey. This stage transforms your detailed design into a professional, technically accurate architectural representation.
Model accuracy verification requires systematic and comprehensive cross-checking of multiple design parameters. Implement a structured approach to validate your model’s technical specifications:
Compare digital measurements against original architectural plans
Check vertical and horizontal alignment of structural components
Verify scale consistency across different model sections
Validate material thickness and dimensional tolerances
Cross-reference 2D drawings with 3D model geometry
Dimensional precision is non-negotiable in architectural modeling. Utilize your software’s built-in measurement tools to perform rigorous checks, ensuring every element aligns perfectly with design specifications. Pay special attention to critical areas like floor-to-floor heights, facade panel dimensions, and structural connection points.
Beyond numerical accuracy, assess your model’s visual and proportional representation. This means evaluating how well your 3D model communicates the building’s spatial relationships, architectural intent, and real-world volumetric characteristics. Use multiple viewing angles and rendering techniques to confirm that your model truly captures the essence of the original architectural design.
Summary of key accuracy and verification checks at final model stage:
Verification Area | Why It Matters | Typical Method |
Dimensional Consistency | Ensures scale accuracy | Cross-check measurements |
Alignment of Elements | Prevents structural issues | Overlay with 2D drawings |
Material Thickness | Matches real construction | Inspect model details |
Visual Proportion | Conveys design intent | Render from multiple views |
Architectural models are more than technical drawings - they are visual narratives that must communicate design intent with absolute precision.
Pro tip: Create side-by-side comparisons between your digital model and original architectural drawings, using semi-transparent overlays to quickly identify any discrepancies.
Step 6: Present and Export High-Rise 3D Models
The culmination of your architectural modeling process involves transforming your meticulously crafted 3D model into compelling visual presentations and shareable digital formats. This stage bridges the gap between technical design and effective communication with stakeholders.
Advanced visualization techniques enable architects to create immersive representations of high-rise designs. Prepare your model for presentation by considering multiple output strategies:
High-resolution still renderings
Animated walkthrough videos
Interactive 360-degree model views
Photorealistic environment integration
Construction documentation exports
Rendering quality determines presentation impact. Select rendering engines that provide photorealistic lighting, material representation, and environmental context. Configure your export settings to balance visual fidelity with file size and compatibility across different platforms.
Choose file formats strategically to ensure maximum accessibility and collaboration. Prioritize industry-standard formats like BIM-compatible files that support multidisciplinary communication. This approach facilitates seamless integration with construction management systems, engineering workflows, and client presentations.
Effective 3D model presentations transform technical designs into compelling visual narratives that communicate architectural vision.
Pro tip: Create multiple render versions with varying levels of detail to accommodate different stakeholder needs, from quick conceptual previews to highly detailed technical presentations.
Elevate Your High-Rise 3D Models with Expert Craftsmanship and Technology
Creating accurate high-rise 3D architectural models demands not only attention to detail and dimensional precision but also mastery of materials, software, and presentation techniques. If you are facing challenges in achieving realistic architectural details, structural integrity, or visually compelling textures, Creative Fusion is here to help. We combine traditional craftsmanship with cutting-edge technology to deliver high-quality high-rise 3D models, transforming your complex designs into tangible, precise architectural narratives.

Discover our specialized High-Rise 3D Models service tailored for developers, architects, and marketing teams across the UAE and KSA. Our expert team ensures model accuracy, scale verification, and photorealistic finishes that bring your architectural vision to life. Ready to transform your next project with precision and impact? Visit Creative Fusion today and experience superior architectural model making that supports your goals from conceptualization to presentation.
Frequently Asked Questions
What data do I need to start making a high-rise 3D model for architecture?
To successfully create a high-rise 3D model, you need technical building specifications such as structural plans, elevation drawings, and precise dimensional measurements. Collect all relevant documentation and data before beginning your modeling process to ensure accuracy.
How do I choose the right software for designing high-rise 3D models?
Select software that supports complex geometric designs and precision engineering, such as Autodesk Revit, SketchUp Pro, or Rhino 3D. Evaluate the unique capabilities of these programs to match them with your specific modeling needs, ensuring an efficient workflow.
What tools are essential for constructing high-rise 3D models?
Invest in professional-grade tools such as precision craft knives, metal rulers, and digital calipers for accurate measurements and clean cuts. Use these tools to improve the precision of your model and reduce errors during the construction phase.
How can I ensure the accuracy of my high-rise 3D model?
You can ensure accuracy by systematically cross-checking your model against original architectural plans and verifying dimensional consistency. Perform detailed measurements and corrections throughout the modeling process to maintain precision at every stage.
What should I include when presenting my high-rise 3D model?
Prepare your model for presentation by creating high-resolution still renderings, animated walkthrough videos, or photorealistic environment integrations. Choose presentation methods that effectively communicate your architectural vision to stakeholders, maximizing clarity and visual impact.
How do textures impact the realism of a high-rise architectural model?
Textures play a crucial role in enhancing the realism of your model by simulating how different materials interact with light. Use high-quality textures and apply them thoughtfully to convey material essence and experience, elevating your model from a basic representation to a detailed visualization.
Recommended